4. Spaces
A Space is a collection of datasets and their settings. It can be managed independently and is shareable among users. Essentially, Spaces serve as organisational units for datasets, allowing the User to manage and share datasets that belong to the same thematic group, or project.
4.1. Spaces Hierarchy
The spaces can be organized as a hierarchy, meaning that a space can have a (single) parent space and multiple children spaces (i.e. be itself a parent). This, again, is meant to make organization of information easier, but it serves an additional purpose: The properties assigned to a parent space propagate further down to (or are inherited by) the children spaces. This means that, if for example, a transformation is created and applied in a parent space, this transformation is going to also apply to every child space belonging to the parent. This is practical when the User wants to avoid creating the same transformation for multiple spaces.
4.2. Space Management
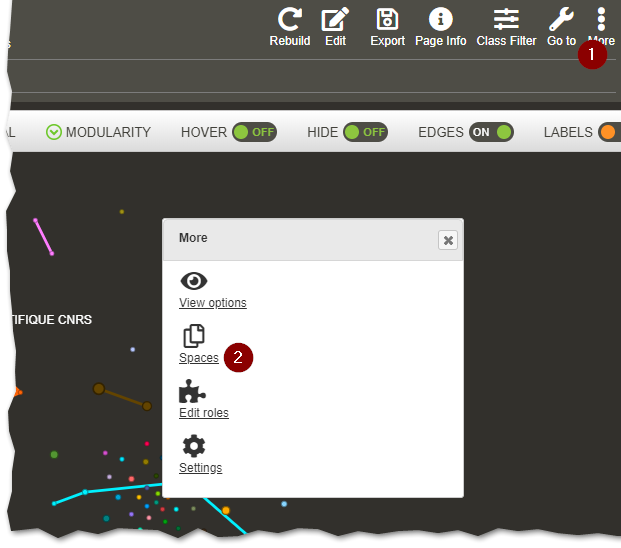
To see your spaces, click on the More icon on the top right corner and then on the Spaces icon, as shown below.
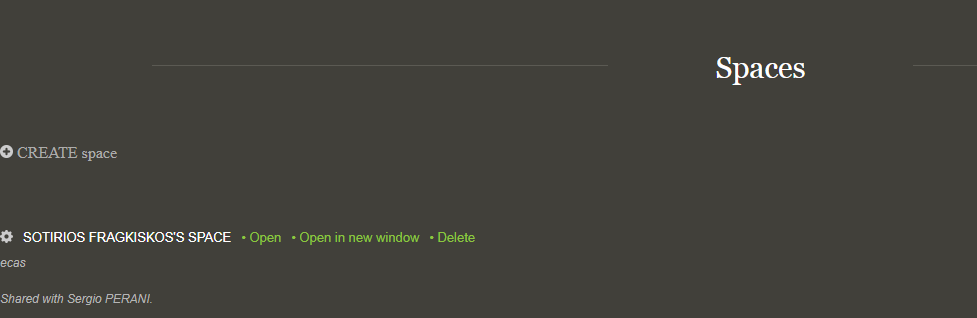
This will take you to your Spaces page, where a list of both your own spaces and the spaces shared with you by others is shown.
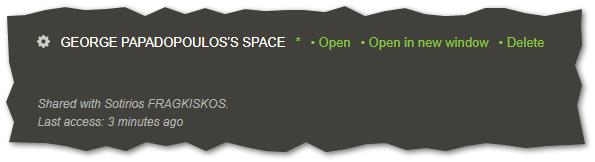
Each space entry consists of:
the Space’s name,
a short description if available,
a list of Users having access to the Space,
the name of the parent space, if there is one,
and the last access time.
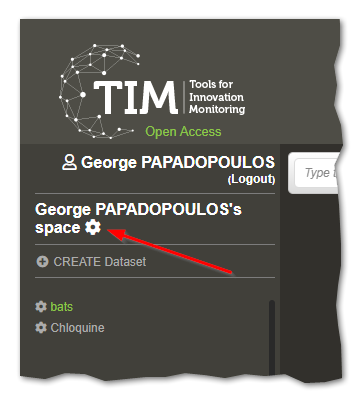
The cogwheel icon  on the left of the Space’s name leads to the Space Settings page, where you can further manage, share and customize the Space.
Next to the name of the space is a symbol, indicating one of the following:
on the left of the Space’s name leads to the Space Settings page, where you can further manage, share and customize the Space.
Next to the name of the space is a symbol, indicating one of the following:
!: the space is the default space (the one that automatically opens when logging in),
*: the space is a normal space,
P: the space is a public space (viewable by everyone, but not editable).
There are also buttons to open the space, open it in a new window tab or delete it.
When a space happens to be a parent space, an extra List button appears, that shows you only children spaces of that space. The space name is also underlined.

In the beginning, all spaces are easily accessible and findable, but when later you end up having to manage dozens, or even hundreds of spaces, the List button comes in handy!
4.2.1. New Space creation
To create a new Space, click on the Create space link.
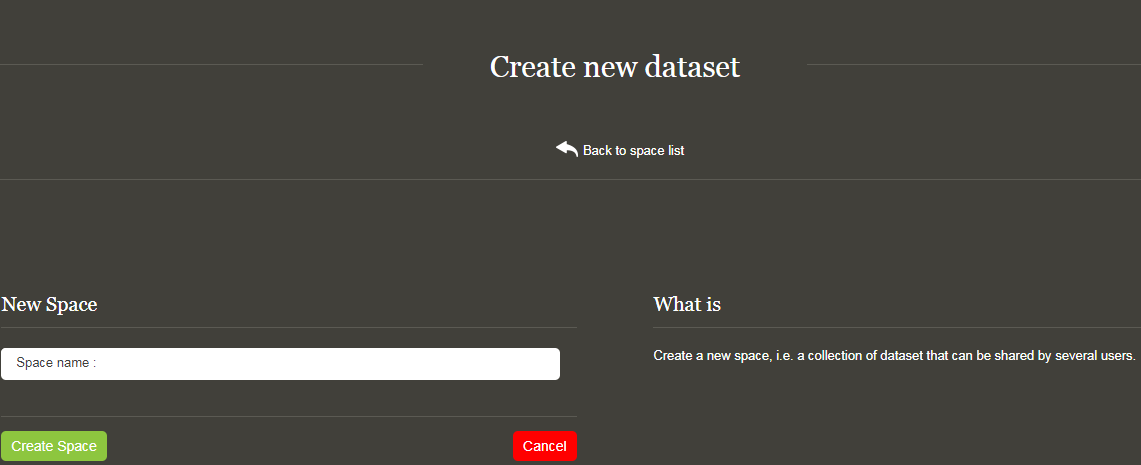
Type in a name for the new Space and click on the Create Space button.
4.3. Space Settings
The Space Settings of a specific space can be reached from two places, either from the More menu mentioned in Space Management above, or from within the space the User is currently in:
The Space Settings page looks like the image below.
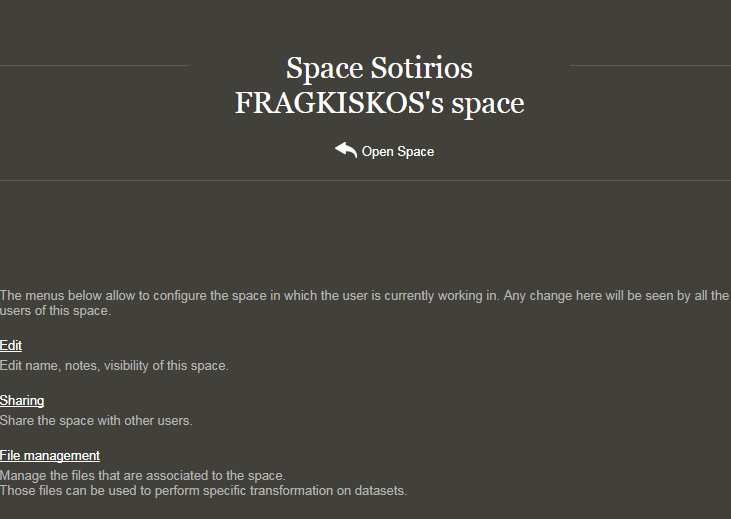
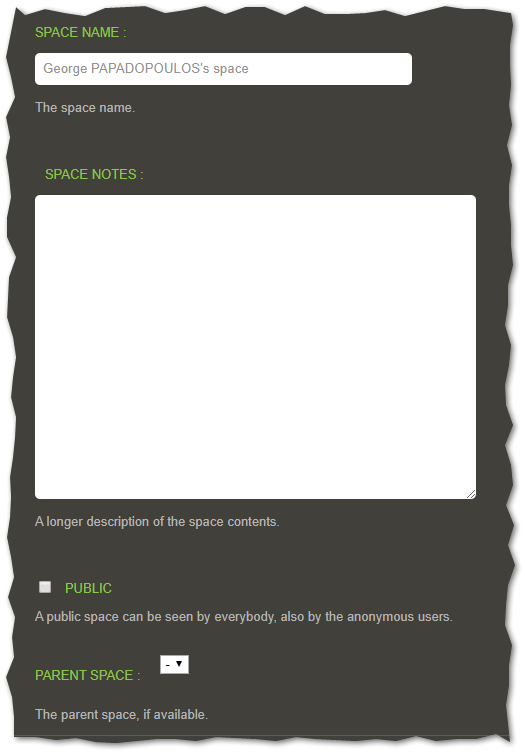
4.3.1. Edit
The edit space page allows you to modify the space name or add a description. It is also the place to turn the page into a public page (vieweable by every User), or designate a parent space.
4.3.2. Sharing
You can share your space with as many TIM users as you want. Users who have access to the page are listed on the right hand-side of the page. Users can have either editing/viewing rights or only viewing rights. Please note that any user with editing rights can also invite other users.
The icon  signifies that the User can both view and edit the current space.
The icon  signifies that the User only has viewing rights.
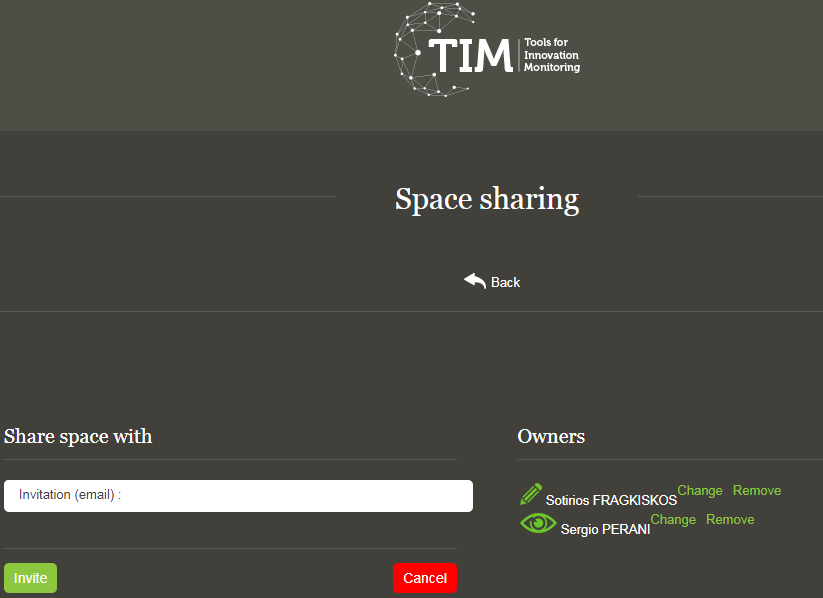
To share your space with another TIM user, write his or her email in the field invitation. The newly shared space will be automatically made available in the invited User’s list of spaces and an email will be sent to notify them about it.
Warning
The User has to already be registered in TIM, for the invitation to take place, otherwise the request will be dismissed without a warning.
4.3.3. File management
Manage the files that are associated to the space. Those files can be used to perform specific transformation on datasets.
For more information on how to use the file manager, please see here.
4.3.4. Dataset trasformation
Modify or replace some data of a dataset after the search, e.g. to add new fields or remove documents.
Only for users with role advanced.
For more information on data transformations, please see here.
4.3.5. View
Change the options related to the view, such as background colour and layout algorithm (at space level).
Only for users with role advanced.
4.3.6. Custom page
Create custom pages using a predefined set of options. This is the “behind the scenes” alternative to creating and editing Custom Pages from the main TIM page.
For more information on Custom Pages, please see here.
4.3.7. Custom space page
Create custom pages at the space level, using a predefined set of options.
4.3.8. Other space options
Other options that do not have a specific category. Only for users with role advanced.
4.3.9. Indicator
Create an indicator (numerical value) from the dataset. Examples of indicators are the number of authors of a document or the average number of countries.
For more information on Indicators, please see here.
Only for users with role advanced.